Painting Ice With Salt

Rock salt from the sidewalk

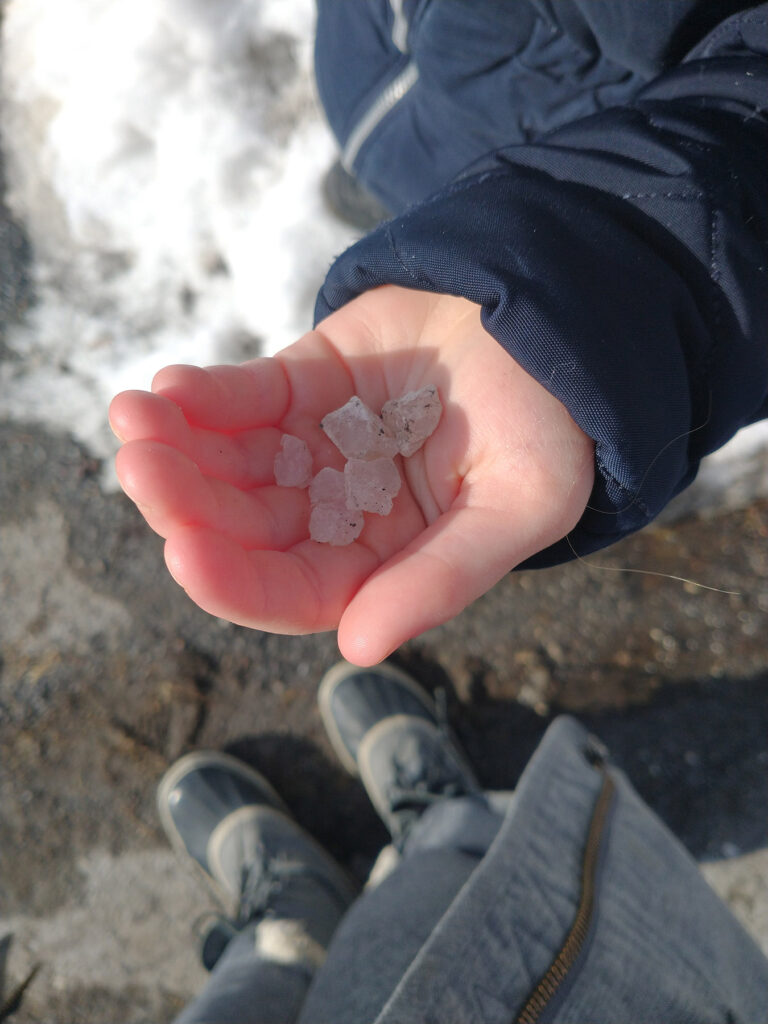
Miss 4 and I walked home along the sidewalk, and stepped aside as a sidewalk plow passed the path. Miss 4 noticed that the plow dropped something behind it as it went along, so we investigated. We found rock salt! I explained that rock salt helps melt the ice and keep it from forming. As we walked near the car, she told me that rock salt eats cars. I agreed that the salt corrodes cars, through a chemical reaction.

Putting salt on the ice

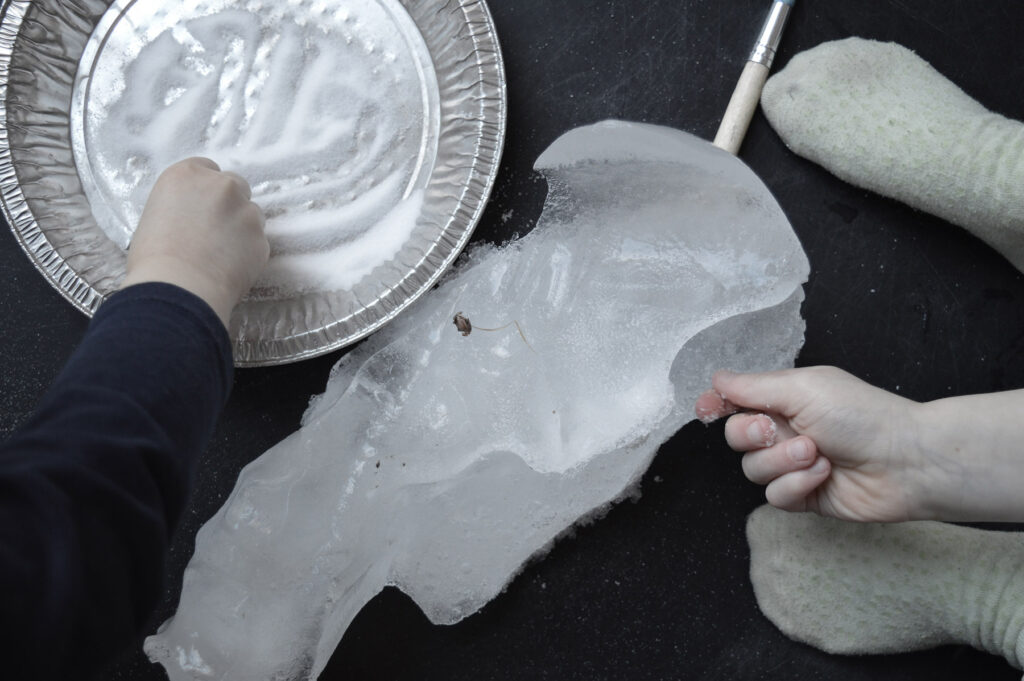
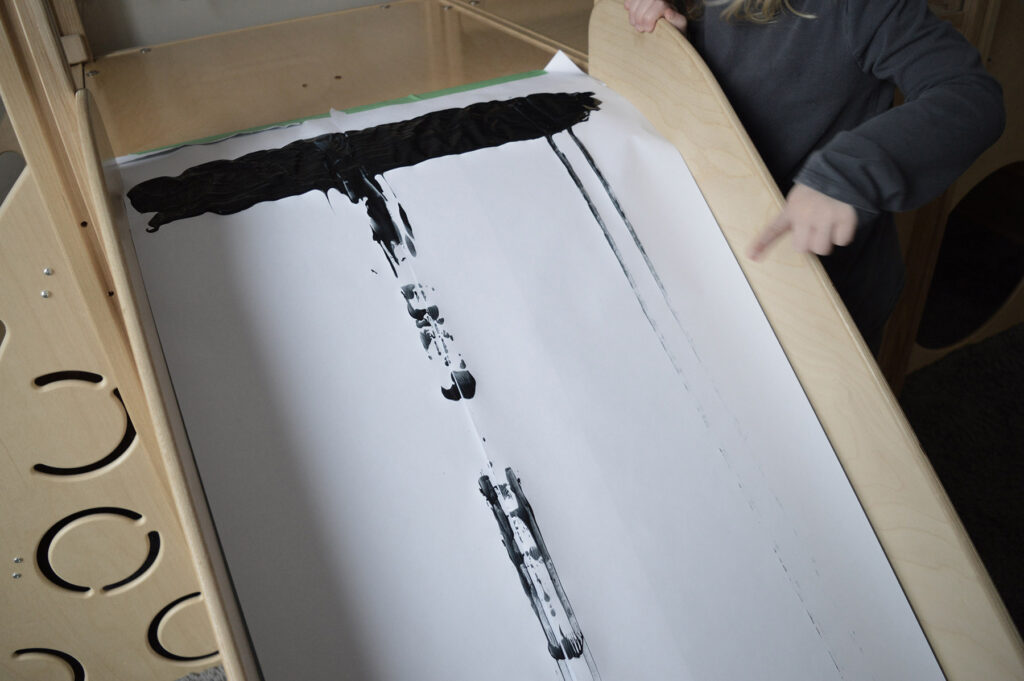
I took that teachable moment as an opportunity for a science activity. I grabbed a big chunk of ice from the backyard and put it on our Tuff tray. Table salt, from our pantry, went on a tin pan beside the ice and I invited the children to sprinkle salt over the ice with their hands, in the tray. I noticed it was difficult to see the effect the salt had on the ice so I added a paint palette, blue, purple and white paint, and some paint brushes.

Painting ice after salt

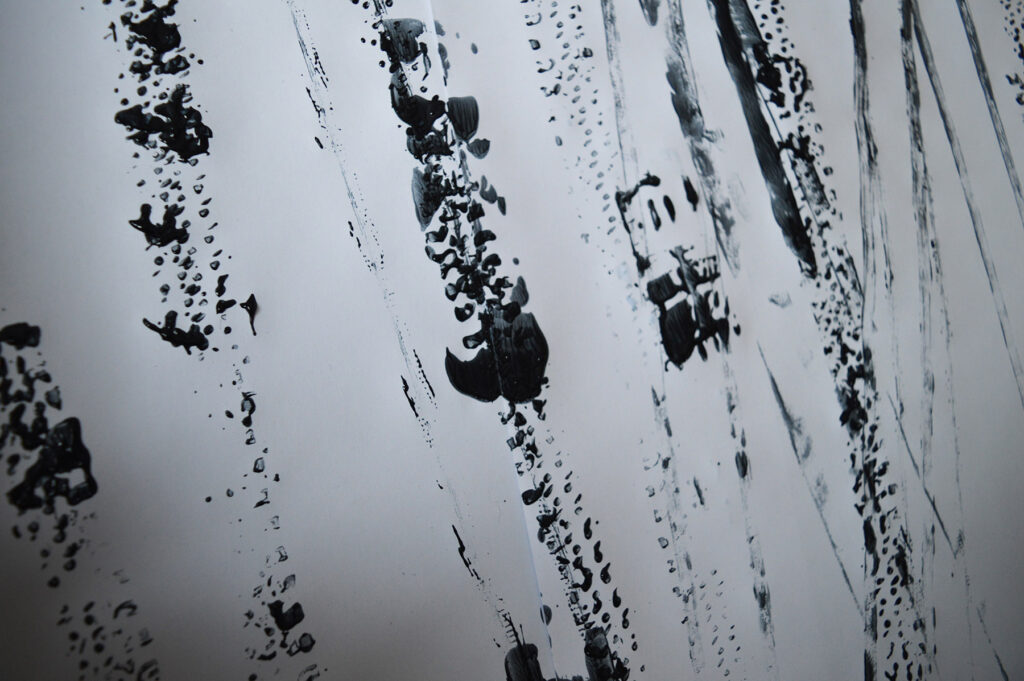
Dissolved salt and water freezes below zero degrees Celsius, while pure water freezes at zero degrees Celsius. The plow sprinkled ice on the sidewalk to keep ice from forming. The ice already on the sidewalk had a layer of water on top of it, as ice always does. Indoors, during our experiment in our heated home, the ice that I brought in began to melt. As the salt and water mixed on the chunk of ice, more dissolved salt formed, more ice melted which created more dissolved salt and the ice melted faster, etc. This happens up to a certain speed and is limited by the amount of salt, of course. The paint made the melting ice visible.

Here I added blue, purple and white paint however if I tried it again, I would add two primary colours, such as blue and red. That would add another interesting element. It would show the mixed colours, as the ice melted.

Clean up involved a bath and we continued the painting in the bathtub. When I asked Miss 4 a few weeks after this activity, she remembered that ice corrodes cars and also melts ice! When she learns more about this in grade 6 Chemistry class, she will have this earlier experience to pull from.

Car Tracks

Rolling a motorcycle down the slide

My children, Miss 2 and Miss 4, have been interested in cars for a while now. Their dad has fancied up our Honda Civic to make it look like a racing vehicle. He also does his own oil change, tire swap and general maintenance. The girls play car racing video games with him and our eldest has helped him change oil. I’ve rented car books from the library to supplement their enthusiasm and we did a STEM activity, which I will share with you!

The car tracks activity is a great introduction to track making and referencing, as it involves toys from the children’s play environment that are meaningful to them, that they see frequently, and have some strong and distinct tracks. We chose a variety of sturdy vehicles for this science activity, including a remote control truck, a match car, and a Paw-patrol motorcycle, as well as a few others. Alternatively, you could use textured balls, especially for babies and toddlers.

This image has an empty alt attribute; its file name is WEBSITElook-1024x681.jpg
Two different vehicle tracks on the paper

In our house, we have a play structure with a slide, so we used that as our ramp. You could alternatively use an outdoor slide, a wobble board, or make a flat surface with a piece of large cardboard. I recommend having sides to the cardboard, if you go that route, since it keeps the paint covered cars on the paper. We covered it with paper roll and taped off the top and bottom with painters tape. We had the vehicles land in a tuff tray at the bottom of the slide to keep them contained. The children could pick the vehicles up from there and bring them back to the top of the slide for another turn.

View from above

Different vehicles made different shaped tracks that were made visible with the paint. We used black paint, though you could use an assortment of colours. I put a thick strip of paint at the top of the slide, for simplicity, though alternatively you could run the cars through a thin layer of paint on a separate tray and place them at the top of the ramp.

Tracks from cars and trucks

The next part of the activity involved labeling the tracks. I singled out a track with a blue paint stick and asked my 4 year old to identify the vehicle that made the track. She picked a car to test. We made a print on a separate piece of scrap paper. She brought her resource sheet over to the track on the slide to confirm her prediction.

Comparing the reference sheet to one of the tracks on the slide

Clean up involved washing the wheels of the vehicles and is best done right away so the paint doesn’t dry. We took the paper off the slide. I’m planning to take some more photos with it as I intend to make some beautiful worksheets and a few car activities for classrooms. I’ve done this activity in a kindergarten classroom a few times and doing it with my own children has helped me develop it further.

Welcome!

My name is Rachelle. I’m a mama with a Diploma in Early Childhood Education and a Degree in Science. I love nature and am passionate about teaching children about STEM fields.